
Gadgets
Setting Up Your New Android Phone: A Step-by-Step Guide

Setting Up Your New Android Phone: A Step-by-Step Guide
Congratulations on getting your hands on a new phone! It’s an exciting time, and we hope you’ll have a fantastic experience with it. If you’ve chosen a device from our best budget phones, best mid-range phones, or best phones overall guides, you’re in for a treat.
Once the initial excitement wears off, it’s time to dive into the setup process. While modern phones make it easy, it’s still worth going through each step methodically.
For this tutorial, we’ll be using an Android device on a Google Pixel phone. The process will be similar for other Android handsets, with slight variations in the order of steps.
If you have an Apple device, check out our guide on how to set up a new iPhone or iPad.
Select a Language
Foundry
Start by selecting a language for your phone. This will be used throughout the setup process and in all menus. Choose the language that suits you best, as it can be changed later if needed.
You can also enable vision and voice modes for accessibility features. Tap ‘Get started’ to proceed to the next screen.
Insert Your SIM Card

Foundry
To connect to a mobile network, insert your SIM card into the phone. Most modern phones use nano SIM cards, and you can find an ejector tool in the packaging to access the SIM slot.
All phones in the UK are sold unlocked, allowing you to use any network’s SIM. However, this may not be the case in the US.
Some phones offer the option to download an eSIM instead of using a physical SIM card. If you prefer this option, choose your device accordingly.
If you don’t have a SIM card or prefer not to use an eSIM, you can skip this step and set up the phone using only Wi-Fi.
Connect to Wi-Fi
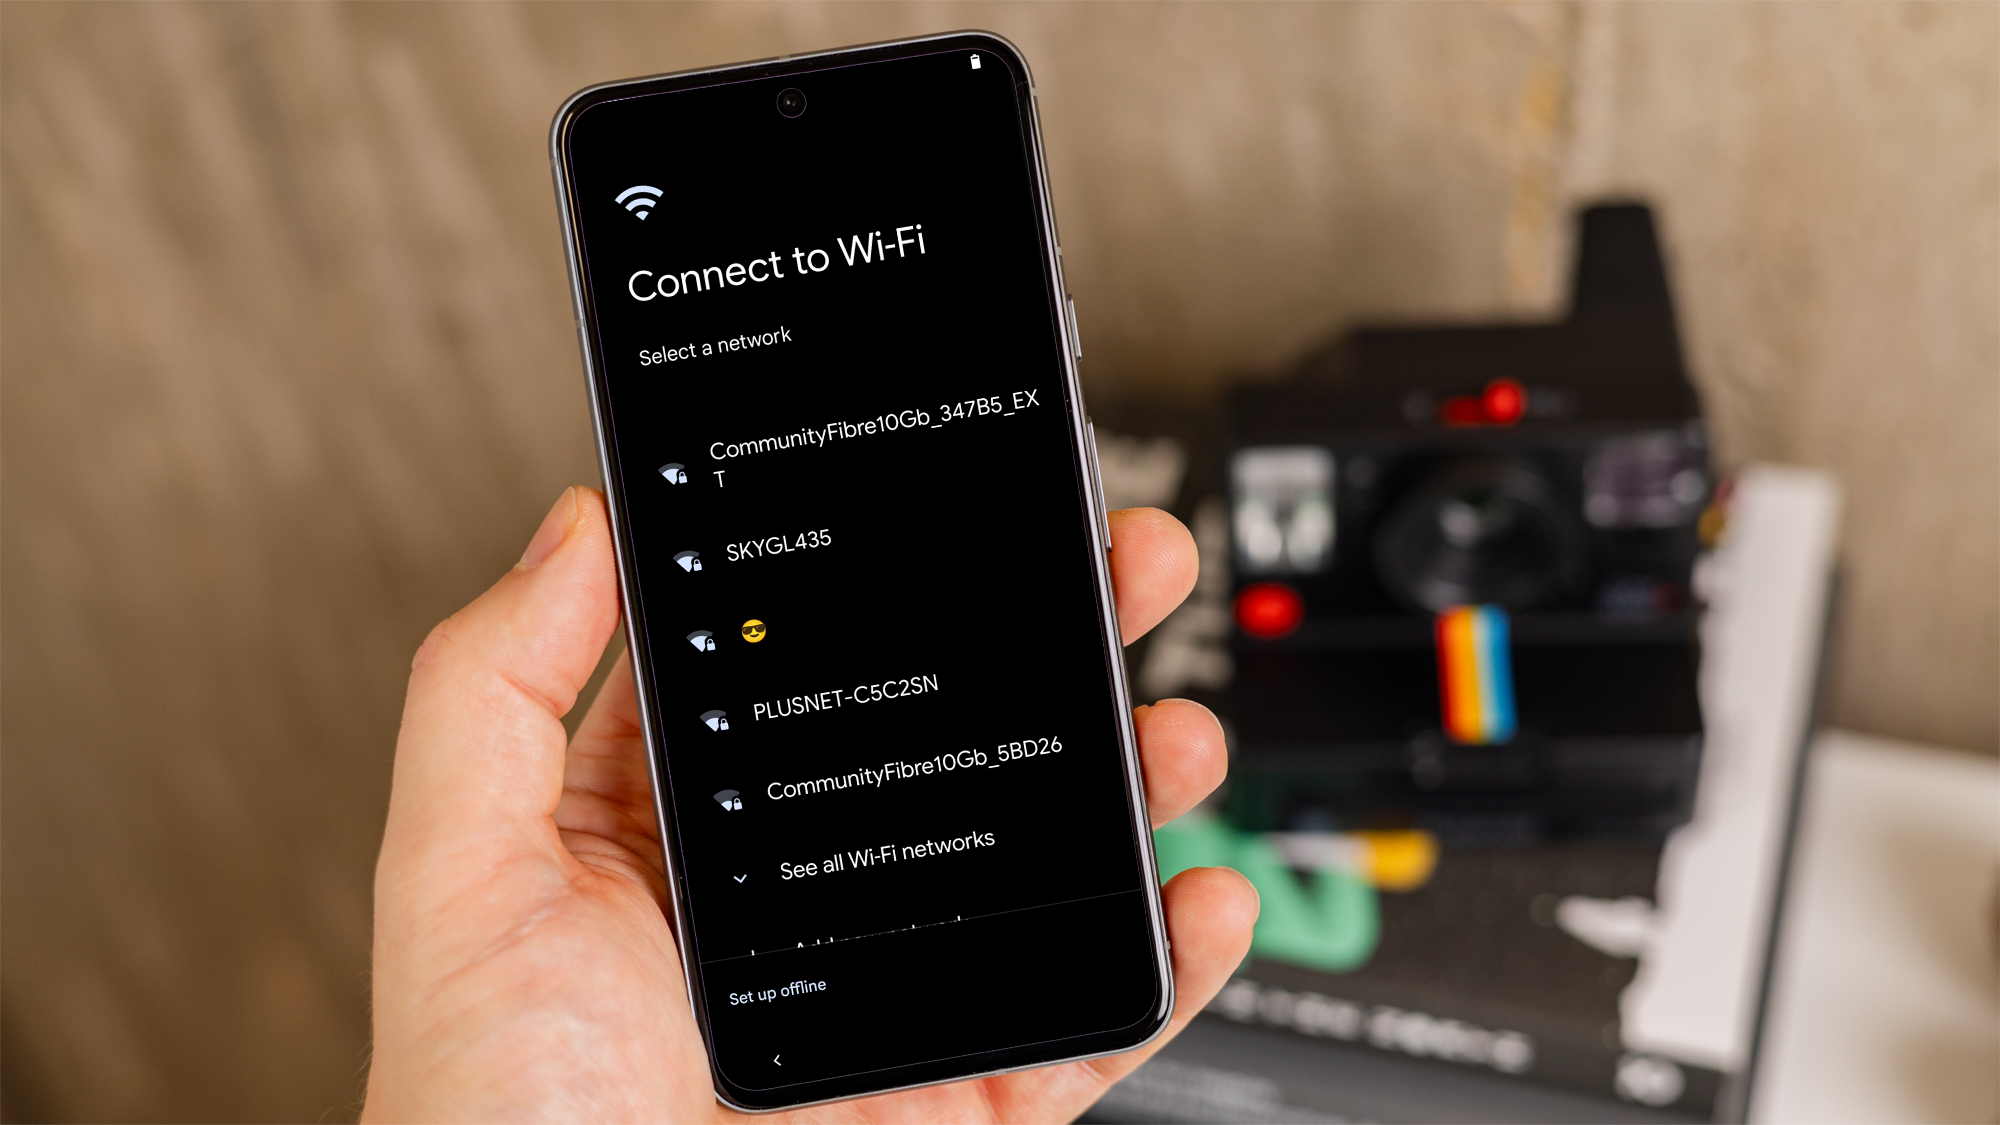
Foundry
If your phone doesn’t connect to Wi-Fi automatically, you can do it manually. This step is crucial, especially if you didn’t insert a SIM card earlier.
Select the Wi-Fi network you want and enter the password. If you’re unsure, check the back of your Wi-Fi router for the password.
Connecting to Wi-Fi will make the rest of the setup process smoother. You can choose ‘Set up offline,’ but you’ll need mobile data or Wi-Fi to log in to your Google account and use the phone online.
Copy Data from Your Old Phone
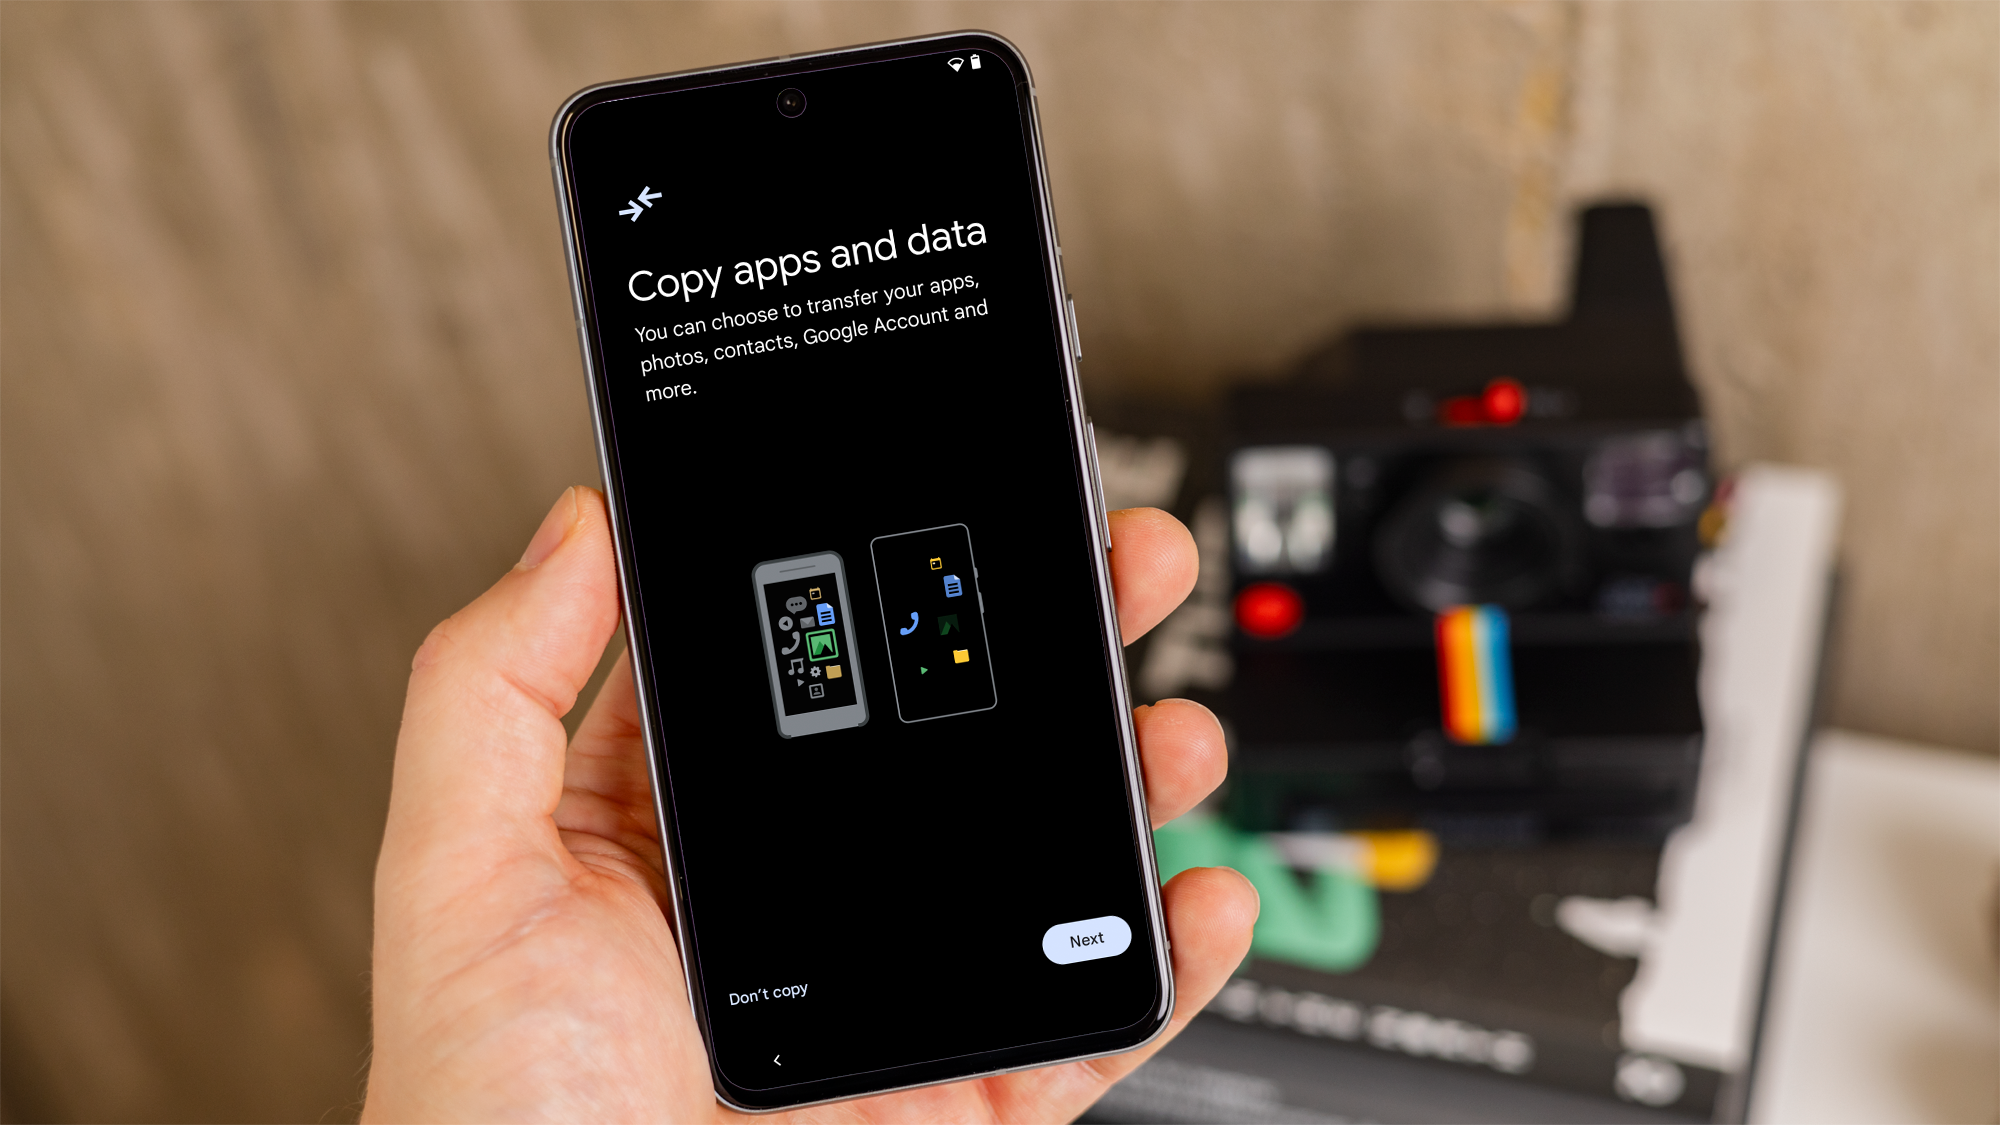
Foundry
You have the option to transfer apps and data from your old phone, including your Google account, text messages, photos, videos, apps, and settings.
If you prefer not to copy data, select ‘Don’t copy’ or ‘Can’t use old device?’ if you don’t have access to your old phone.
To copy data, tap ‘Next’ and follow the instructions to transfer data using methods like scanning a QR code or using a cable.
Add Your Google Account
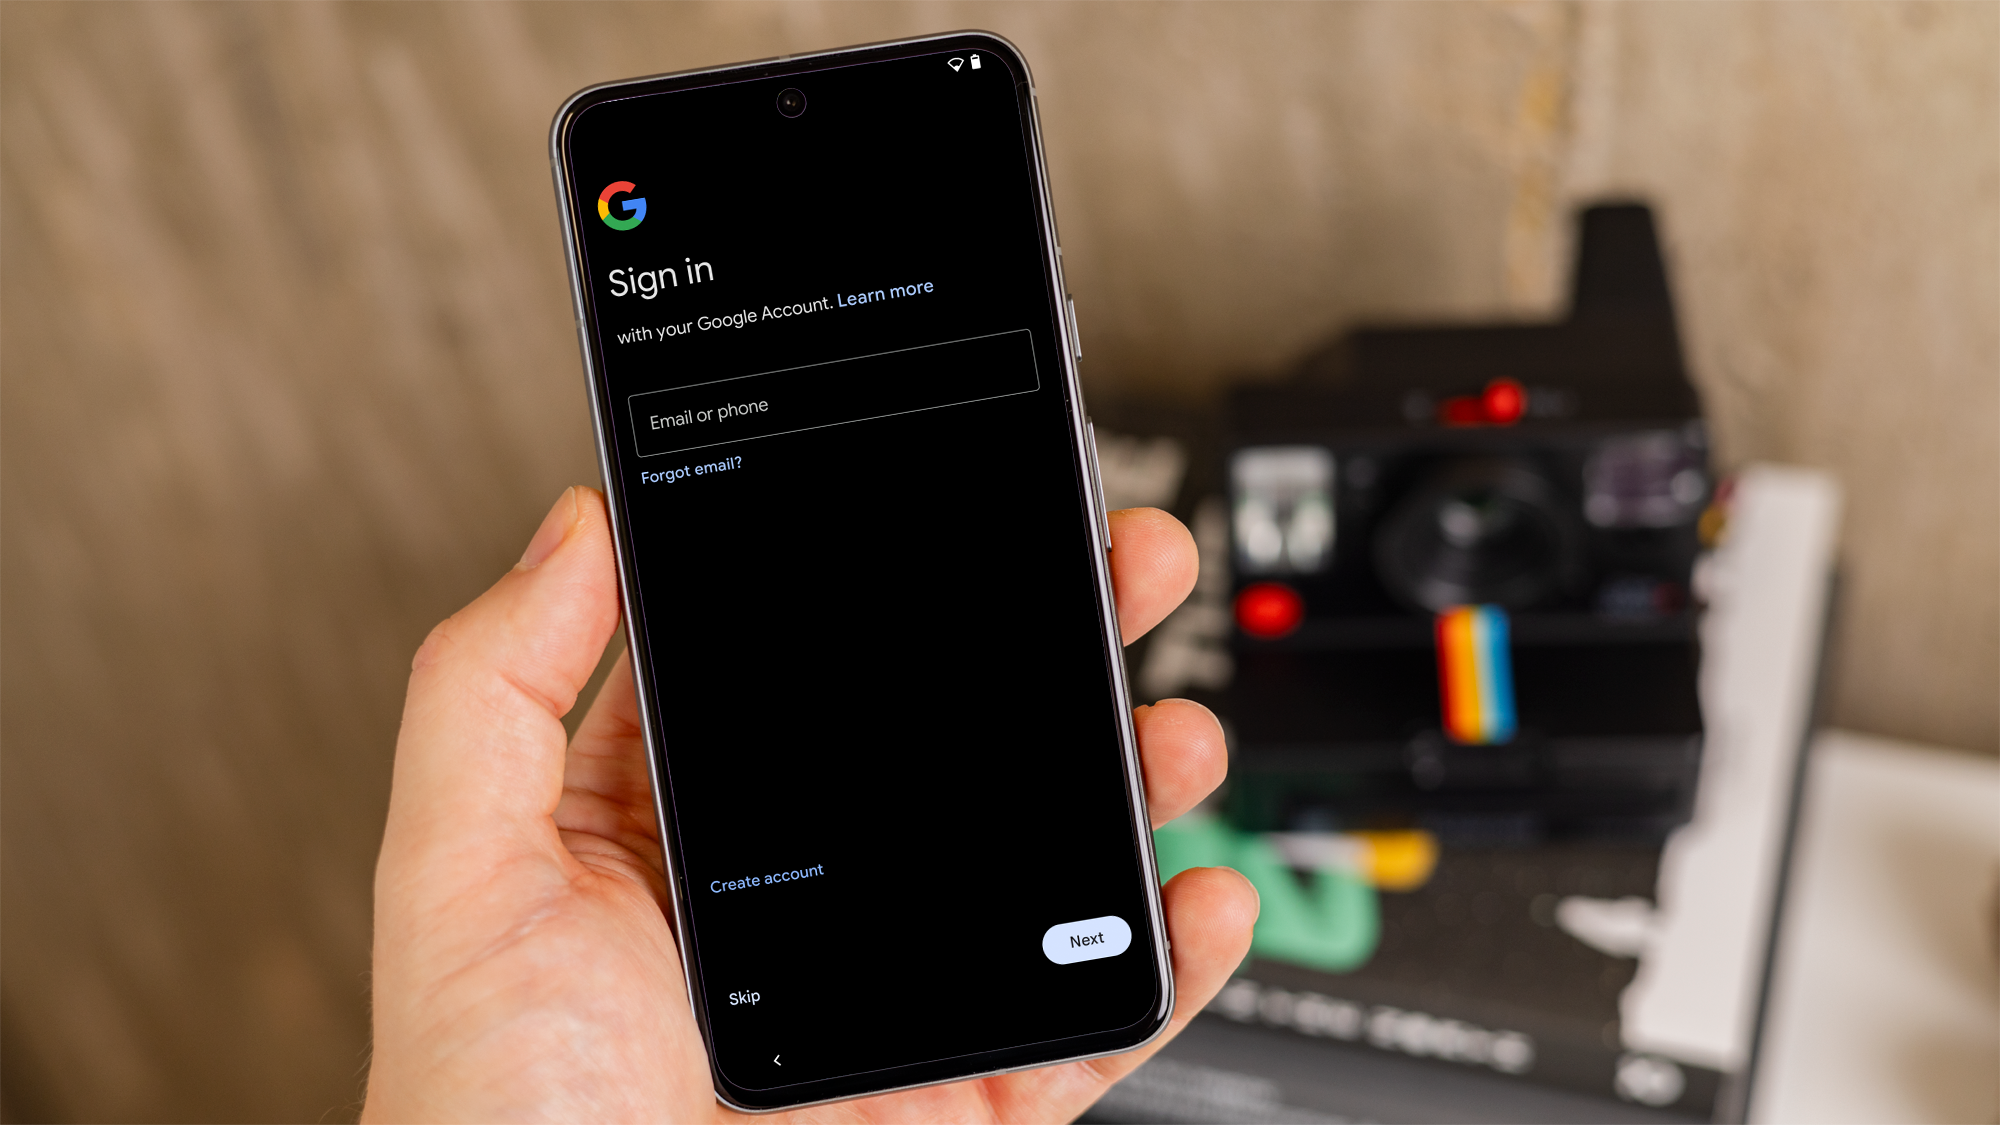
Foundry
You’ll be prompted to sign in to your Google account at some point during the setup process.
If you don’t have a Google account, you can create one now. This account is essential for using an Android phone and provides you with a Gmail email address.
You’ll also choose what information you want to copy over. It’s recommended to transfer as much as possible, as you can always delete it later. Note that WhatsApp data won’t be transferred with a backup.
This step may take a few minutes, so be patient.


Bearlyfy Strikes Russian Companies with Unique GenieLocker Ransomware Attack

Innovative Ventures: The 8 Startups Investors Can’t Resist from YC Demo Day

The Future of iPhone Cameras: Is a 200 MP Lens Coming Soon?

Celebrating the First iX3 Delivery at BMW’s Debrecen Factory

iPhone 12 Pro Max vs Samsung Note 20 Ultra / Huawei / Xiaomi / OnePlus Battery Life DRAIN Test.

Stealthy Malware: The Hidden Threat Within Telnyx PyPI Package

Harvest of Suspicion: Grave Seasons Murder Mystery Farming Sim Arrives in August

Tech Giants Clash: OpenAI Halts Sora as Meta Faces Legal Setback

Apple’s AI Playlist Playground: Where Music Goes to Die

EU Takes Action Against Instagram and Facebook for Violating Illegal Content Rules

Warning: Facebook Creators Face Monetization Loss for Stealing and Reposting Videos
Facebook Compliance: ICE-tracking Page Removed After US Government Intervention

Facebook’s New Look: A Blend of Instagram’s Style

Facebook and Instagram to Reduce Personalized Ads for European Users

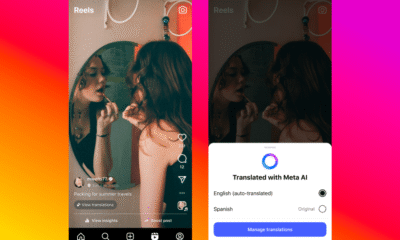
InstaDub: Meta’s AI Translation Tool for Instagram Videos

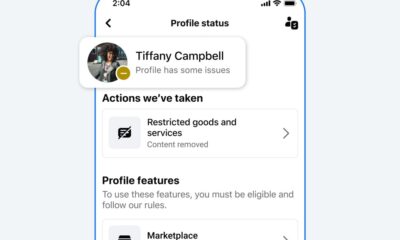
Reclaim Your Account: Facebook and Instagram Launch New Hub for Account Recovery

Meta discontinues Messenger apps for Windows and macOS

Breaking Updates: Meta Connect 2025 Unveils Latest Developments
iPhone 12 Pro Max vs Samsung Note 20 Ultra / Huawei / Xiaomi / OnePlus Battery Life DRAIN Test.

The BEST Smartphone of 2020 🏆

The Self-Healing Smartphones!

Apple is not what it used to be.

Smartphones are Boring now.

The Fastest Android Phone Ever.

Unboxing the $122,000 Smartphone. 🤯

Are Linux Smartphones about to KILL Android?

15 Smartphone FAILS to ruin your day 😂
-
 Facebook5 months ago
EU Takes Action Against Instagram and Facebook for Violating Illegal Content Rules
-
 Facebook5 months ago
Warning: Facebook Creators Face Monetization Loss for Stealing and Reposting Videos
-

 Facebook5 months ago
Facebook Compliance: ICE-tracking Page Removed After US Government Intervention
-
 Facebook4 months ago
Facebook’s New Look: A Blend of Instagram’s Style
-
 Facebook4 months ago
Facebook and Instagram to Reduce Personalized Ads for European Users
-
 Facebook5 months ago
InstaDub: Meta’s AI Translation Tool for Instagram Videos
-
 Facebook4 months ago
Reclaim Your Account: Facebook and Instagram Launch New Hub for Account Recovery
-
 Apple5 months ago
Meta discontinues Messenger apps for Windows and macOS

Newsletter Signup
Subscribe to our weekly newsletter below and never miss the latest News or an exclusive offer.